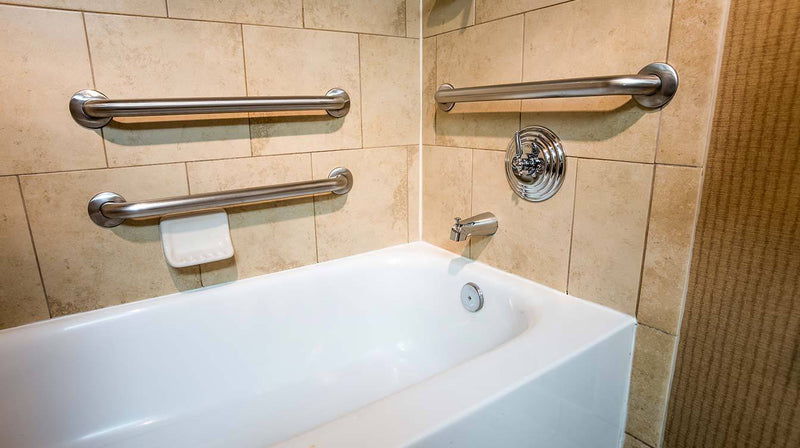
Prevent Bathroom Falls: How To Install Grab Bars For Showers

Installing bathroom accessories can be difficult, especially with the various wall materials your bathroom probably has. What works for drywall and plaster board might not work for tile over concrete or tile over drywall. While this might feel like an overwhelming task, it doesn’t have to be when you use high-performance toggle bolts to get the job done quickly and reliably.
Grab bars in your bathroom or shower wall are important safety accessories and their installation should not be treated carelessly. Using the strongest wall anchoring system is essential in this situation as it is for the safety of your family, friends, or customers.
The SNAPTOGGLE Heavy Duty Toggle Bolt is not only the easiest to install option for installing grab bars, but it’s the strongest anchor for the job. Building codes typically require grab bars to hold just 250 pounds of dead load force. SNAPTOGGLE holds over 100 pounds more. This heavy duty wall anchor can support 360 pounds in ½” drywall.
The SNAPTOGGLE just requires a ½” hole for installation, and can be used in any shower wall material as long as there is a hollow space behind it. This includes shower tile over any of the following hollow materials:
- Drywall
- Gypsum Board
- Plasterboard
- Plaster
- Concrete Block
- Cinder Block
- Aerated Concrete
- Stucco
- Composite Panels
- Fiberglass
- Cement Board
- Green Board
Installing SNAPTOGGLE in a snap
Just as the name implies, installation is quick and easy with SNAPTOGGLE. Before you begin, make sure you have purchased the right grab bar. Grab bars for showers are typically knurled or peened to provide a stronger grip for wet hands. Satin finished materials might be harder to grip. Building codes vary between localities and facilities, so be sure to check your building codes before purchasing a shower grab bar.
Follow these instructions, as well as the installation instructions for your grab bar to ensure an effective hold.
- Place your grab bar on the wall and make marks where it’ll be attached. You might need to use a level to get it at the appropriate angle.
-
Drill ½” holes where you made your marks, then hold metal channel flat alongside the plastic straps and slide channel through the hole.
The minimum clearance behind the wall must be 1 ⅞” or 48mm. - Hold the ends of the straps between your thumb and forefinger and pull toward you until the channel rests flush behind the wall. Slide the plastic cap along the straps with your other hand until the flange of the cap is flush with the wall.
- Snap the straps off at the wall by pushing them side to side.
- Place your grab bar on over the flange, insert bolts, and tighten until flush against item.
And it’s as easy as that. If you need to install other bathroom accessories that don’t require a heavy duty hold, like a toothbrush cup holder, the SnapSkru Self Drilling Anchor is quick to install in drywall and gypsum board.
As for medium-weight objects like shelving or medicine cabinets, the TOGGLER Plastic Toggle Anchor is good for all types of walls including drywall, gypsum board, concrete, or brick. You can learn more about how to hang shelves in all wall types in our instructional article.