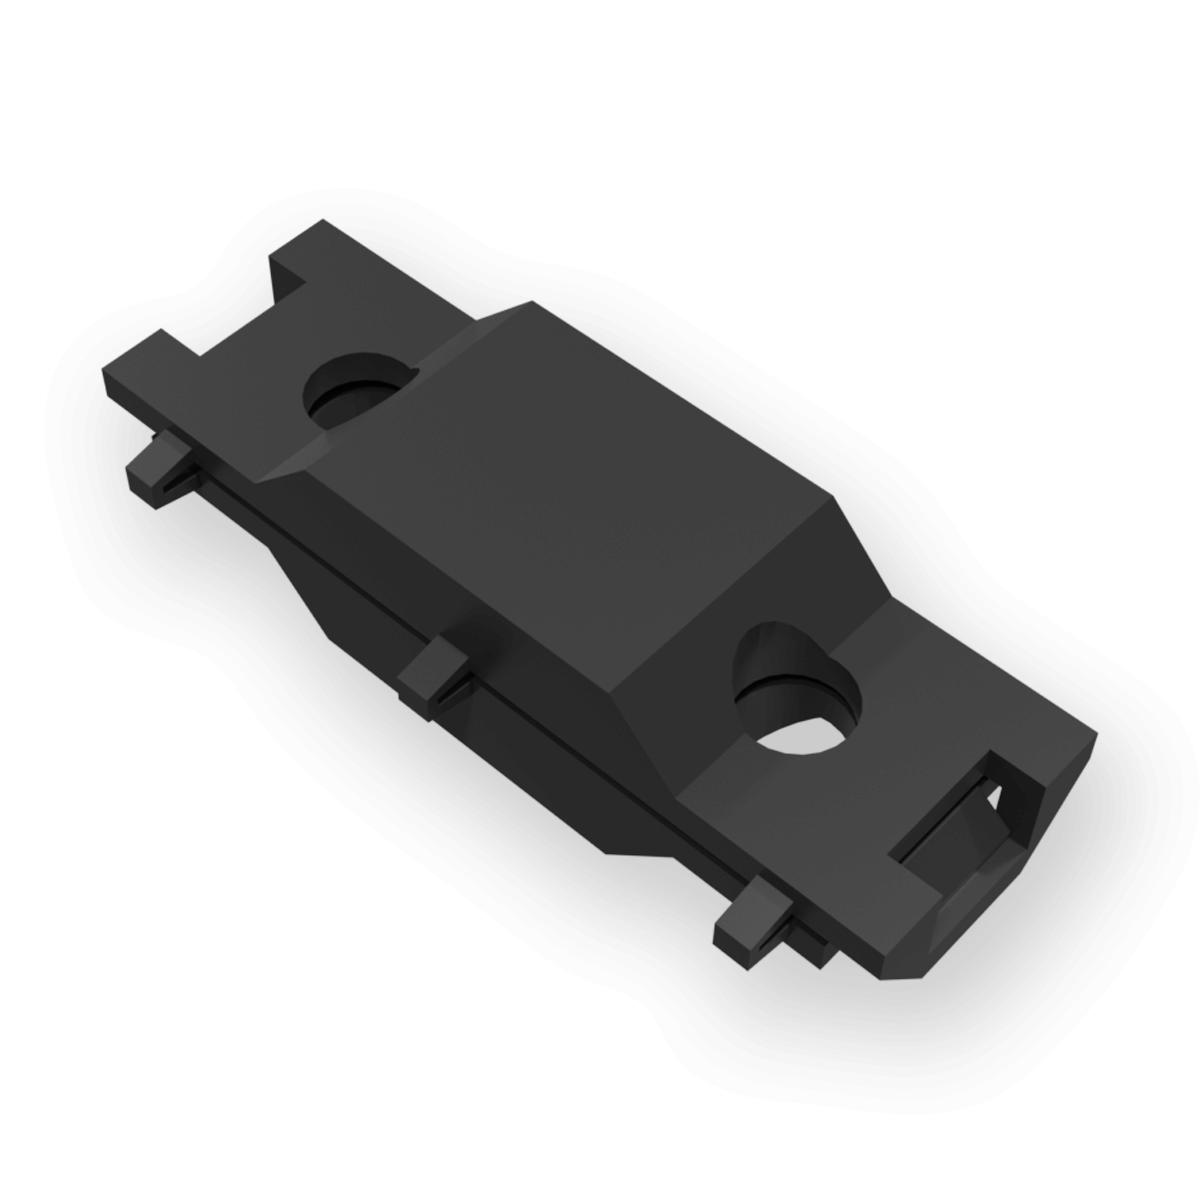


The Pos-I-Tie® ThermalClip® is designed for use with the Original Pos-I-Tie® Veneer Anchoring System. This new breakthrough in masonry construction adds thermal-break technology to all the advantages of the Original Pos-I-Tie® Veneer Anchoring System. It has passed NFPA 285 Testing as part of the CavityComplete® Wall system.
A. Pos-I-Tie® Screws
1) Self-Drilling Screw:
Use a standard drill with a variable clutch adjustment and a Pos-I-Tie® Chuck Adapter. Place the barrel end of the screw in the chuck adapter; drill through the gypsum board and into the metal stud.
2) Concrete/CMU Screw ICF:
Use a standard hammer drill and a Pos-I-Tie® Sleeve Tool with a Pos-I-Tie® Chuck Adapter on the end. Set Drill to Hammer, slide off the chuck adapter sleeve and drill a 2" deep hole into the backup with a 3/16" (4.76 mm) masonry drill bit. Replace the sleeve/chuck adapter, switch the hammer mode off, and place the barrel end of the screw in the chuck adapter. Drill the screw into the hole.
3) Dril-It® Screw:
Use a standard drill with a variable clutch adjustment and a Pos-I-Tie® Chuck Adapter. Place the barrel end of the screw in the chuck adapter and drill the screw into the structural member. Some structural steel may require pre-drilling a pilot hole.
B. ThermalClips®
From the underside of the barrel loop, insert the tab of the thermal clip into the barrel loop and fold until you hear the distinct “snap” of the engagement.
C. Wire Ties
Configure ties to prevent flow of water to anchor and to transfer lateral loads without excess mechanical play or deformation.
Please email us at orders@anchorco.com for a custom quotation.
Orders ship within 24 business hours after we receive them. Orders received before 2:00pm EST Monday through Friday usually ship the same business day (unless otherwise noted).
We are closed on the following holidays: New Years Day, Memorial Day, Independence Day, Labor Day, Thanksgiving, the day after Thanksgiving, and Christmas Day.
All orders ship from Connecticut. The drop-down menu in the shopping cart that shows the shipping rates also shows the number of days in which your order should reach you.
We send an email confirming your order the day your order is received. When your order ships we send a second email with your paid invoice and information to track your order.
If you have any questions or problems, please email us at orders@anchorco.com.
We do not have any retail locations. We are happy to meet all your anchoring needs with the anchorco.com website.
We do not ship internationally outside of the USA.
Please email us at orders@anchorco.com and our Customer Service department will be happy to assist you.
Our shopping cart is powered by Shopify, one of the most respected eCommerce platforms. It uses state of the art encryption and privacy tools to secure your purchase and your online account with us.
If you have any questions or problems, please email us at orders@anchorco.com.